Helpful Salesforce documentation consists of showing end-users each step of a process using screenshots. Today I’m going to show you how to do it using Snagit.
What does Snagit do?
Snagit gives you an easy way to capture what you see on your computer by taking screenshots and adding graphics, annotations, and other effects. You can also record your computer screen and audio.
Regarding screenshots, after you capture the image you want, Snagit makes it easy to add graphics and text on the image, and then send the image to another program like email, Word, PowerPoint, Excel, Evernote, Facebook - or you can just copy the image so you can paste it later on. Snagit also has a free service called Screencast that allows you to load the image to the web and share it with a link.
For videos, you can record your screen and your audio and send the video recording directly to Snagit’s Screencast service or YouTube. Snagit does not have any editing features for video - for that you will need to purchase Camtasia.
Steps to using Snagit for screenshot based documentation
There are 3 basic steps for creating Salesforce documentation with Snagit:
- Capture the part of your screen you want to share
- Add annotations and effects
- Copy and paste the image to the editing software you’ll use
1 - Capture the part of your screen you want to share
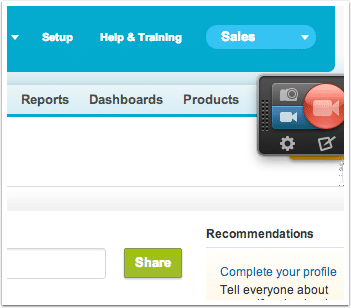
When you install Snagit, you’ll get this red half-bubble on the right-hand side. When you hover over it, the bubble pops out and you have the option to take screenshots.

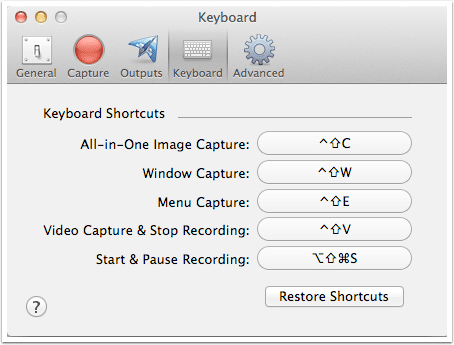
You can also set up shortcut keys to quickly take screenshots.
When you click on the big red button, or you press the keyboard shortcuts, crosshairs pop up. Move the crosshairs to the area that you want to capture by holding your mouse down and dragging - Snagit will take a screenshot.

Capture as many screenshots as you can to explain the steps of a process. If you have an image explaining something, you don't need to explain it using text. And there will be fewer follow-up questions from end-users.
2 - Add annotations and effects
After you take one screenshot, Snagit pulls up the editor. Here, you have a lot of different options to modify the image.

Click on tools, and you can add callout bubbles, arrow, squares, free-hand drawings, text, etc. Click on Effects and you can add different borders, shadows, edges, perspectives, etc. There are plenty of options to spice up your images.
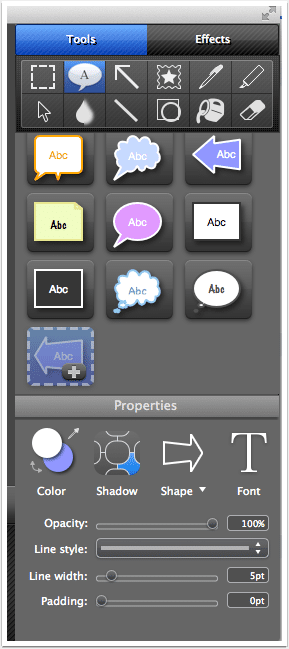

Salesforce documentation won't require you to use all of these features - just make sure your annotations clearly show which buttons to click and fields to enter.
3 - Send the image to the editing software you’ll be using
Sometimes, sending a single picture with an arrow saying, "Click here" will be sufficient - other times, you will need to combine several screenshots to explain a workflow. Snagit gives you a few options for sharing your screenshots.
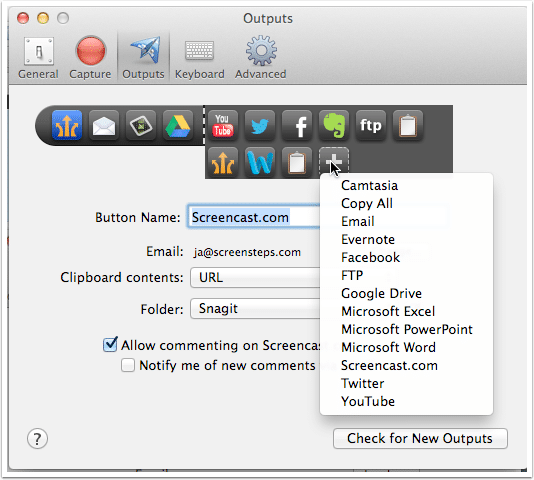
To just share a single screenshot, you can export to email, send it to Screencast.com and share the link, or Copy and paste the image. To combine several images into some kind of tutorial or job aid, you will have to send each image to your editor of choice and manually organize them. In the example below, I pasted images into Pages.

Good Salesforce documentation will include a lot of screenshots, titles, and explanatory paragraphs. You don't need to go overboard on the text explanations - just make sure that they are clear, brief, and next to the screenshot they are explaining.
Tutorials on the web
If you want to put your tutorials on the web, you can upload the images into some kind of content management system like a wiki, Google Sites, WordPress, Joomla, or ScreenSteps. Add titles and paragraph text the same as you would in Word, PowerPoint, or Pages.
Steps for using Snagit to record your screen
There are 2 basic steps for sharing a video recording of your screen using Snagit:
- Record the part of your screen you want to share
- Send the recording to Screencast.com or YouTube for sharing
It's that simple. The only problem is that if you want to edit the video, you need to purchase Camtasia.
1 - Record your screen
Follow the same steps for capturing a screenshot - but instead of clicking the camera icon, you click the video camera icon and hit record.
Click and drag the crosshairs to cover the area of your screen you want record, choose the audio input, and hit record.

Note: I could not get the audio to record on my Mac. I read that I needed to install Soundflower, but as of this writing I have not tried it out.
2 - Send the recording to Screencast.com or YouTube
When you're done recording, the video will show up in the Snagit editor. Send the recording to Snagit's Screencast.com service or to YouTube and you can either share the link or embed the video so it can be viewed on a webpage.
How else are you using Snagit?
Let our readers know how else you're using Snagit to help your end-users get more out of Salesforce.
