In my recent eBook, "The Pragmatic Guide to Training and Onboarding Salesforce Users in Your Nonprofit," I talked about creating road map documentation to train and onboard Salesforce users. I wanted to provide some follow-up material that would go into a little bit more detail about how Admin, Super Users, or Trainers could create a documentation site that organizes road map documentation.
What can you do with a documentation site?
There are several reasons to create your own documentation site: you can easily organize content, your users can easily search for content, you can manage version control... the list goes on. But one of the most important reasons is that you can make your documentation incredibly easy to find by putting it right in Salesforce (see image below).

So I'm going to show you 7 simple steps for putting together a Salesforce documentation site, and then how to make that site available right within Salesforce.
Step 1: Choose a CMS
A CMS (content management system) is a computer program that enables you to create web pages and organize those web pages into a website without the need to know much, if any, computer code. You will use the CMS to create how-to articles (each article will be a web page), and then organize those articles into sections like manuals, chapters, and checklists (the organization of articles will be your documentation site).
Hundreds of CMS programs exist, but if you're new to creating an online training guide, I'd recommend choosing one that is easy to use and has resources to help you get up and running. Some popular CMS programs include WordPress, Drupal, and Google Sites (buyer beware - just because they're popular doesn't mean they're easy).
Note: For this blog article, I'm going to showcase how to create a Salesforce documentation site using ScreenSteps - a CMS we developed for the sole purpose of creating visual documentation sites that integrate with Salesforce.
Whichever one you choose, make sure that your CMS has the following features:
- Viewing permissions (to control who can see your internal procedures)
- Authoring tools that allow for images (such as screenshots)
- Authoring permissions
- Version control (revision management)
- Search functionality
Some CMS programs are free, and all of them probably let you try before you buy. So see which one meets your needs, and pick one that will allow you to quickly and easily create visual documentation sites.
Step 2: Create a page for your documentation
Now that you have a CMS (or are at least trying one out), create a main page that will list out your road map documentation. Make a title formatted as a "Header 1" - my title is "Example Online User Guide."
In ScreenSteps, I did this by creating a manual - it took care of the formatting for me.
Step 3: List a destination and the directions
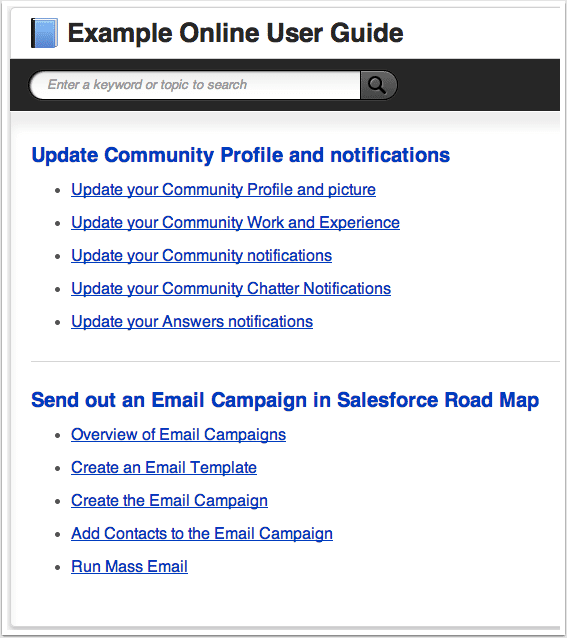
In my eBook, I talk about showing users a destination, and then creating road map documentation that explains how to get there. A destination might be something like "Create a campaign," or "Run the monthly reports" - a job that a Salesforce user has to do. In the example below, I have a destination titled, "Update Community Profile and Notifications."
Below your destination title, list out the directions somebody must follow to accomplish that job (this is part of your road map that shows how to get to a destination). Directions are kind of like a checklist - items that must be done in order for the job to be completed successfully. In the example below, I listed out the directions that need to be followed to successfully update a Community profile and notifications.
Whatever your destination title is, format it as a "Header 2" so it pops off the page and is easy to locate. Below the "Header 2" title, make a bulleted list of the directions.
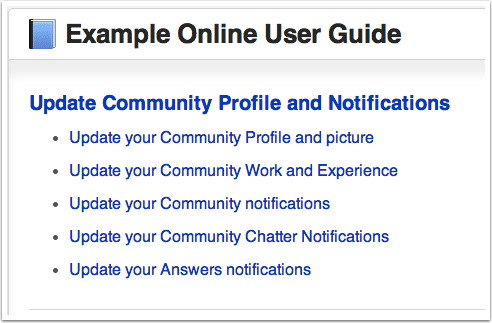
In ScreenSteps, I did this by first making a chapter in the manual, and then creating an article for each bullet point - it took care of the formatting for me.
Step 4: Make a mechanic article for each direction
You can't expect your Salesforce users to know how to execute each direction - so you're going to make documentation that shows them how. In my eBook, I call this type of documentation "mechanic articles." (A road map is the combination of directions and mechanic articles.)
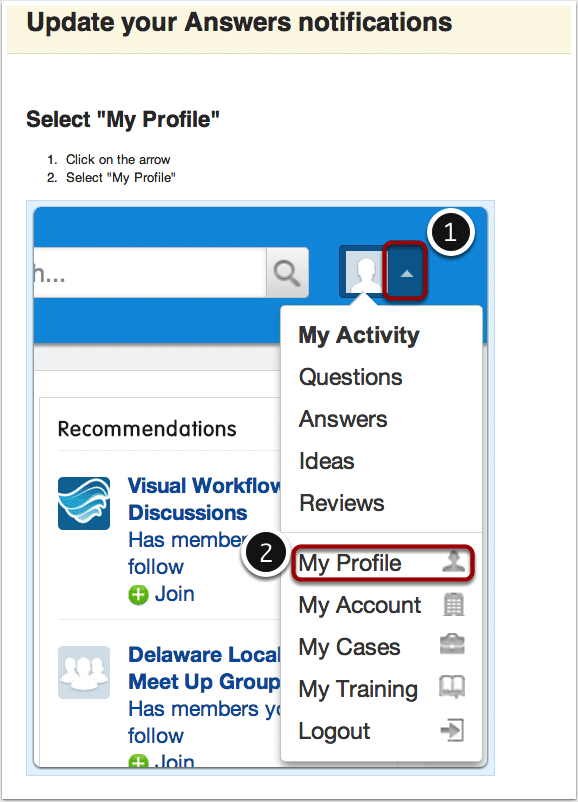
A mechanic article goes into visual detail of how to execute a direction. So while your directions end up looking like a checklist, your mechanic articles will end up looking like a picture book.
For each direction (e.g. "Update your Answers notifications"), you are going to make a mechanic article that is a separate web page, and then link the mechanic article to the direction. For the example screenshot above, I'm going to make a total of 5 separate mechanic articles (one for each direction). Each mechanic article will be its own web page that will be linked to the appropriate direction.
Create the visual instructions
To make a mechanic article, grab screenshots that show how to do every step. A couple of good tools to use for grabbing and annotating screenshots are Snagit and Clarify.
If you use Snagit or Clarify, simply upload each image to your CMS and insert it into the web page. With Clarify, you also have the option to just paste the HTML so you don't have to upload all of your images.
In ScreenSteps, I just have to click a button and the images are automatically uploaded to my documentation site for me.
Add titles and text for each image
The title of the mechanic article (i.e. web page) should be the same as the direction - in this example, it is "Update your Answers notifications." Format the title of each mechanic article as "Header 1."
For each image you have, make a title formatted with a "Header 2." Then add paragraph text if further explanation is necessary (often times it's not).
In ScreenSteps, the formatting and layout is automatically done for me.
Publish your mechanic article
When you're done, publish your article so that it's a web page. Check out this mechanic article for an example of what it might look like.
Step 5: Link mechanic articles to directions
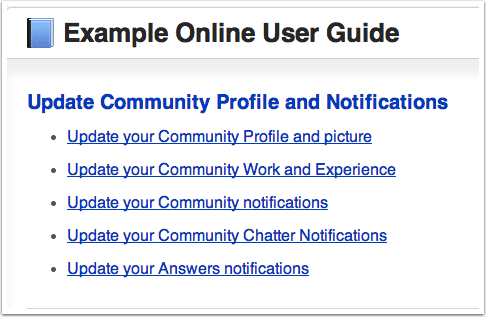
Since each mechanic article is its own web page, you need to link them to the directions. Your CMS should have a symbol that looks like a chain link ![]() (chain link... get it?) - so all you have to do is highlight the direction and create a hyperlink to your mechanic article. Now, when your users don't know how to do a direction, all they have to do is click on the link to learn.
(chain link... get it?) - so all you have to do is highlight the direction and create a hyperlink to your mechanic article. Now, when your users don't know how to do a direction, all they have to do is click on the link to learn.
In ScreenSteps, I just fill out each article with screenshots, annotations, and text, then publish to the site. ScreenSteps automatically uploads the images, formats the text, and creates the links for me.
Step 6: Add search functionality
After you create a few road maps (remember, a road map is the combination of the directions and the mechanic articles), your directions and mechanic articles are going to be numerous. Make sure that your CMS allows for some sort of search functionality so your team can find help content - if your answers are easy to find, then your users will reference them.
Check out the example documentation site.
ScreenSteps has keyword search functionality automatically built in.
Step 7: Make your documentation site available in Salesforce
When your Salesforce documentation site has content, make it available in a Salesforce tab. Follow these instructions for inserting your site in Salesforce. The instructions are for adding a ScreenSteps site, but the same steps apply for adding any web site.

Above is a picture of a Salesforce documentation site that a nonprofit organization, Low Income Investment Fund, made with ScreenSteps. They made a tab for the site so that their Salesforce users could easily find it. ScreenSteps also makes it easy to add contextual help in Salesforce tabs.
Conclusion
Depending on which CMS you decide to use, the workflow you follow might be slightly different. Regardless of how you decide to make your documentation site, just know that it's a great investment. It does take a bit of work, but having one in place will increase user adoption, improve consistency, and make everybody's Salesforce experience a happier one.